How to Style a Statement Lighting Installation

This guide provides the technical and aesthetic framework required to select, install, and integrate a statement lighting installation into your interior design. You will learn how to balance scale, manage light temperature, and ensure that a high-impact fixture serves as a structural element rather than a distracting afterthought.
Defining the Scale and Proportion of a Statement Piece
The most common mistake in high-end residential design is choosing a fixture that is either swallowed by the room or overwhelms the architecture. A statement installation—whether it is a multi-tiered brass chandelier, a sculptural glass pendant, or a custom neon installation—must exist in a calculated tension with the volume of the space.
To determine the correct scale, use the diameter of the room as your baseline. A standard rule of thumb is to add the length and width of the room in feet, and that sum in inches is the ideal diameter for your fixture. For example, in a dining room that is 12 feet by 14 feet, your installation should be approximately 26 inches in diameter. However, when dealing with "installations" rather than single pendants, you must account for the vertical footprint. A sculptural piece that hangs low over a marble dining table requires more "negative space" around it to prevent the room from feeling claustrophobic.
Consider the ceiling height as your primary constraint. In a room with 10-foot ceilings, a heavy, tiered installation should hang at least 30 to 36 inches above the tabletop or surface below. If you are working with a double-height void or a mezzanine, you have the opportunity to use a vertical installation—such as a cascading glass rod system—to bridge the visual gap between the floor and the ceiling, effectively drawing the eye upward and emphasizing the verticality of the architecture.
Selecting Materials and Textures for Visual Impact
A statement piece is a study in materiality. To avoid a look that feels dated or overly "trendy," focus on the intrinsic qualities of the materials used in the construction. A fixture should feel like a piece of permanent architecture, not a temporary accessory.
- Metals: Avoid high-shine, "fake" gold finishes. Instead, look for hand-applied patinas or brushed metals like aged bronze, blackened steel, or satin nickel. A blackened steel structure provides a brutalist, grounding element in a room with soft textiles, whereas a brushed brass piece adds warmth to a minimalist, monochromatic space.
- Glass and Acrylic: Hand-blown glass offers organic imperfections that catch light more naturally than machine-made glass. If you are aiming for a mid-century modern aesthetic, clear acrylic or lucite can provide a "floating" effect that minimizes visual clutter in smaller rooms.
- Natural Elements: For a more tactile, organic approach, consider installations featuring alabaster, marble, or even woven textures. An alabaster pendant provides a soft, diffused glow that is much more forgiving than the harsh light of a bare bulb.
When selecting these materials, ensure they complement the existing hard surfaces in the room. If your kitchen features Calacatta marble countertops, a lighting installation with subtle veining or a cool-toned metal will create a cohesive, intentional dialogue between the ceiling and the floor.
Managing Light Temperature and Layering
The most beautiful installation is useless if the light it emits is unflattering. A common error is relying solely on the statement piece for illumination, which results in a high-contrast environment with harsh shadows. A professional design relies on layering.
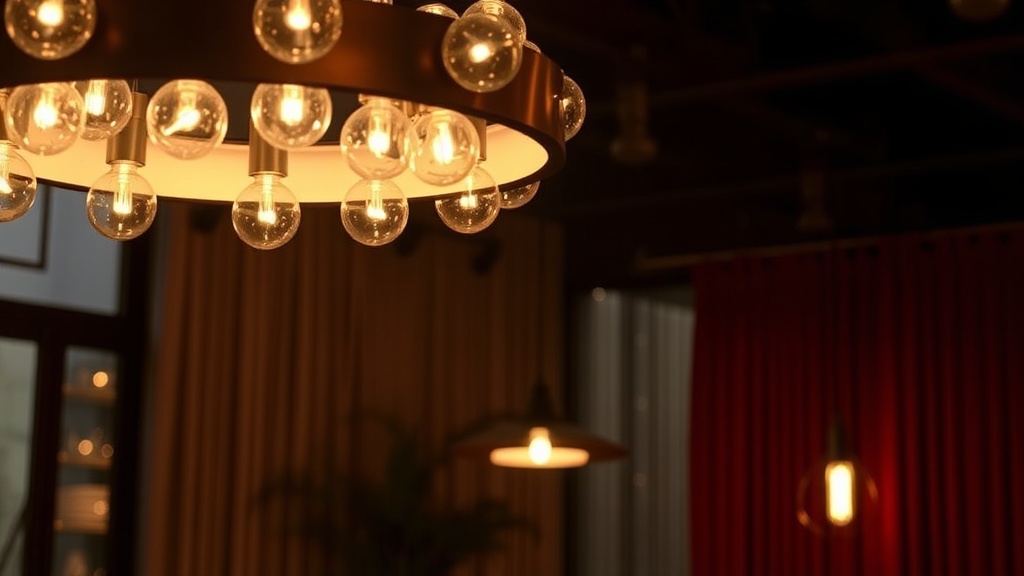
The Kelvin Scale: For residential spaces, you should aim for a warm color temperature. For a dining room or living area, look for bulbs in the 2700K to 3000K range. Anything higher (4000K+) will feel clinical and cold, stripping the warmth from your wood furniture and textiles. If your statement piece uses exposed Edison-style bulbs, ensure they are "warm dim" capable, allowing you to drop the intensity and the color temperature simultaneously as the evening progresses.
The Three Layers of Light:
- Ambient Light: This is your base layer. It should come from recessed architectural lighting or perimeter cove lighting. It provides the general illumination needed to navigate the room.
- Task Light: This is functional light. In a dining room, the statement installation often serves this role, providing focused light on the table. In a reading nook, a dedicated floor lamp is necessary.
- Accent Light: This is where you highlight specific architectural features or art. If your statement lighting is the star, use subtle accent lighting to ensure it doesn't cast unwanted shadows on your artwork or bookshelves.
If you are working with a smaller space, such as an entryway, ensure your lighting doesn't compete with other functional zones. For instance, when creating a calm and functional mudroom entryway, a statement light can define the space, but it should be paired with low-level light to maintain a sense of transition and calm.
Installation and Technical Considerations
A statement installation is often heavy and requires more than just a standard junction box. Before purchasing, you must verify the weight and the mounting requirements. A large, multi-arm chandelier can weigh upwards of 50 pounds, necessitating a reinforced ceiling box or a professional electrician to install a heavy-duty support system.
Dimming is Non-Negotiable: Never install a statement piece without a dedicated dimmer switch. A statement light is a mood-setter. You need the ability to dial it down to 10% for a quiet dinner and up to 100% for a social gathering. Ensure your dimmer is compatible with the type of bulb you are using—LED dimmers, for example, require specific "trailing edge" dimmers to avoid flickering.
Cable Management: For modern, minimalist installations that use suspension cables rather than traditional rods, the tension and alignment of the cables are critical. A slightly crooked cable is much more noticeable in a minimalist room than in a maximalist one. Ensure the installer uses a laser level to guarantee that the installation is perfectly centered within the architectural footprint.
Integrating Lighting with Surrounding Decor
A statement light should not exist in a vacuum. It must be part of a larger compositional strategy. If your lighting is highly sculptural and complex, the surrounding furniture should be relatively streamlined to avoid visual chaos. Conversely, if your room features heavy, traditional furniture, a modern, geometric light installation can provide a necessary "edge" that prevents the room from feeling like a museum period piece.
Consider the relationship between your lighting and your storage and display. A striking pendant over a sideboard or a dining table can highlight the objects you choose to display. For example, if you are styling your bookshelves like a pro, ensure your ambient light is sufficient to illuminate the spines and textures of your collection without creating glare on glass cabinet doors.
"Design is not just about what you add, but how the light interacts with what is already there. A statement piece is a tool for directing the eye, not just a source of illumination."
Final check: Before the final installation, visualize the "shadow footprint." Turn the light on in the evening and observe where the shadows fall. If the statement piece creates long, distracting shadows across a blank wall or a piece of art, you may need to adjust the height or add secondary light sources to soften the edges. A truly successful installation feels as though it was grown from the room itself, a seamless extension of the architecture and the lifestyle within.
Steps
- 1
Determine the Scale and Proportion
- 2
Coordinate with Existing Furniture
- 3
Layer Your Light Sources
- 4
Check the Hanging Height